|
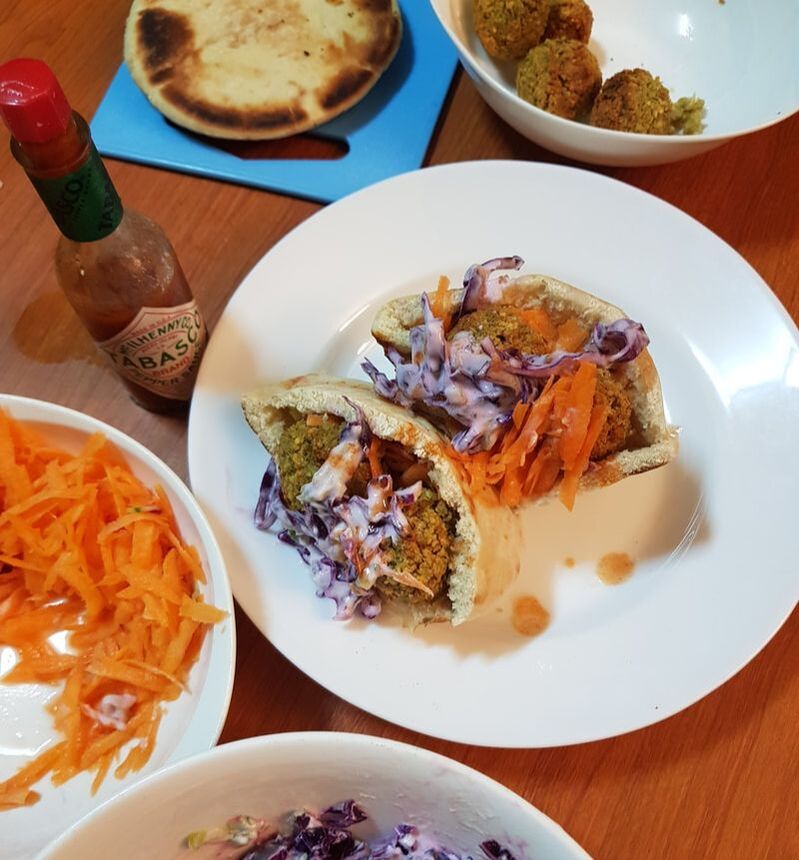
I have 2 very fond memories when I think about falafels. The first one was in Paris, when I was on my leap-of-faith trip alone, and someone had told me about this falafel joint that Lenny Krevitz goes to (and by God, if it's good enough for Lenny, it's good enough for the rest of us!). It was a falafel wrap, hot crispy green balls stuffed in soft peta, with some pickled veg, a slather of yoghurt and hot sauce... it was better than most dates I've ever had.
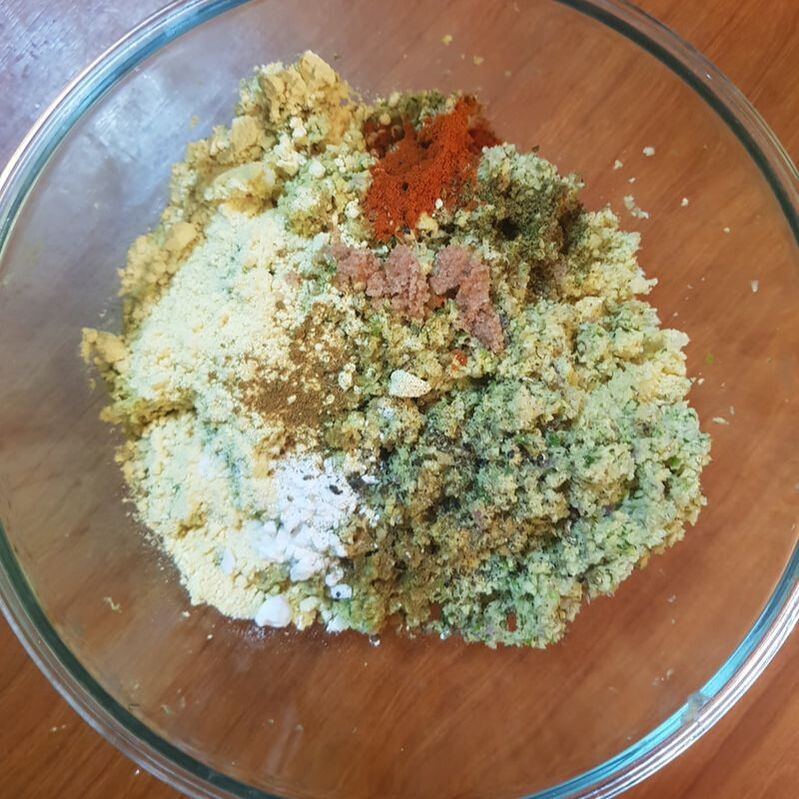
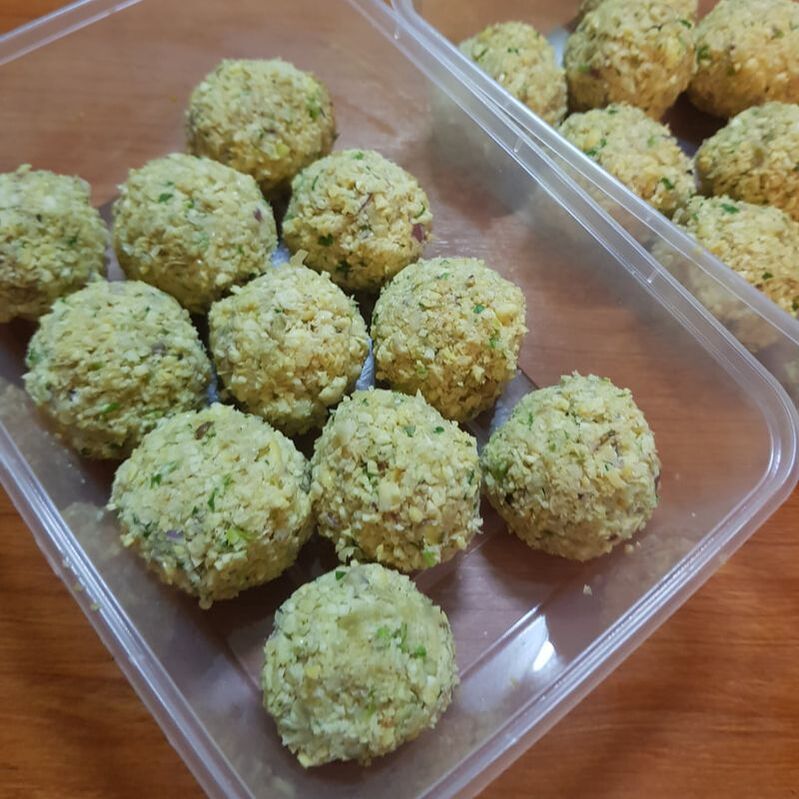
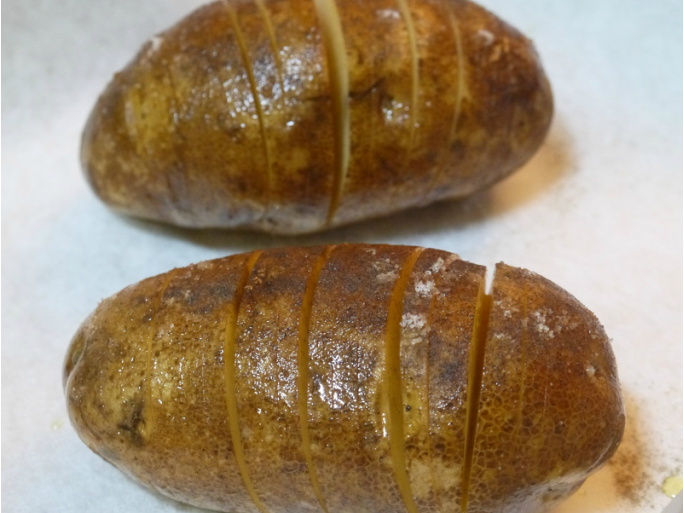
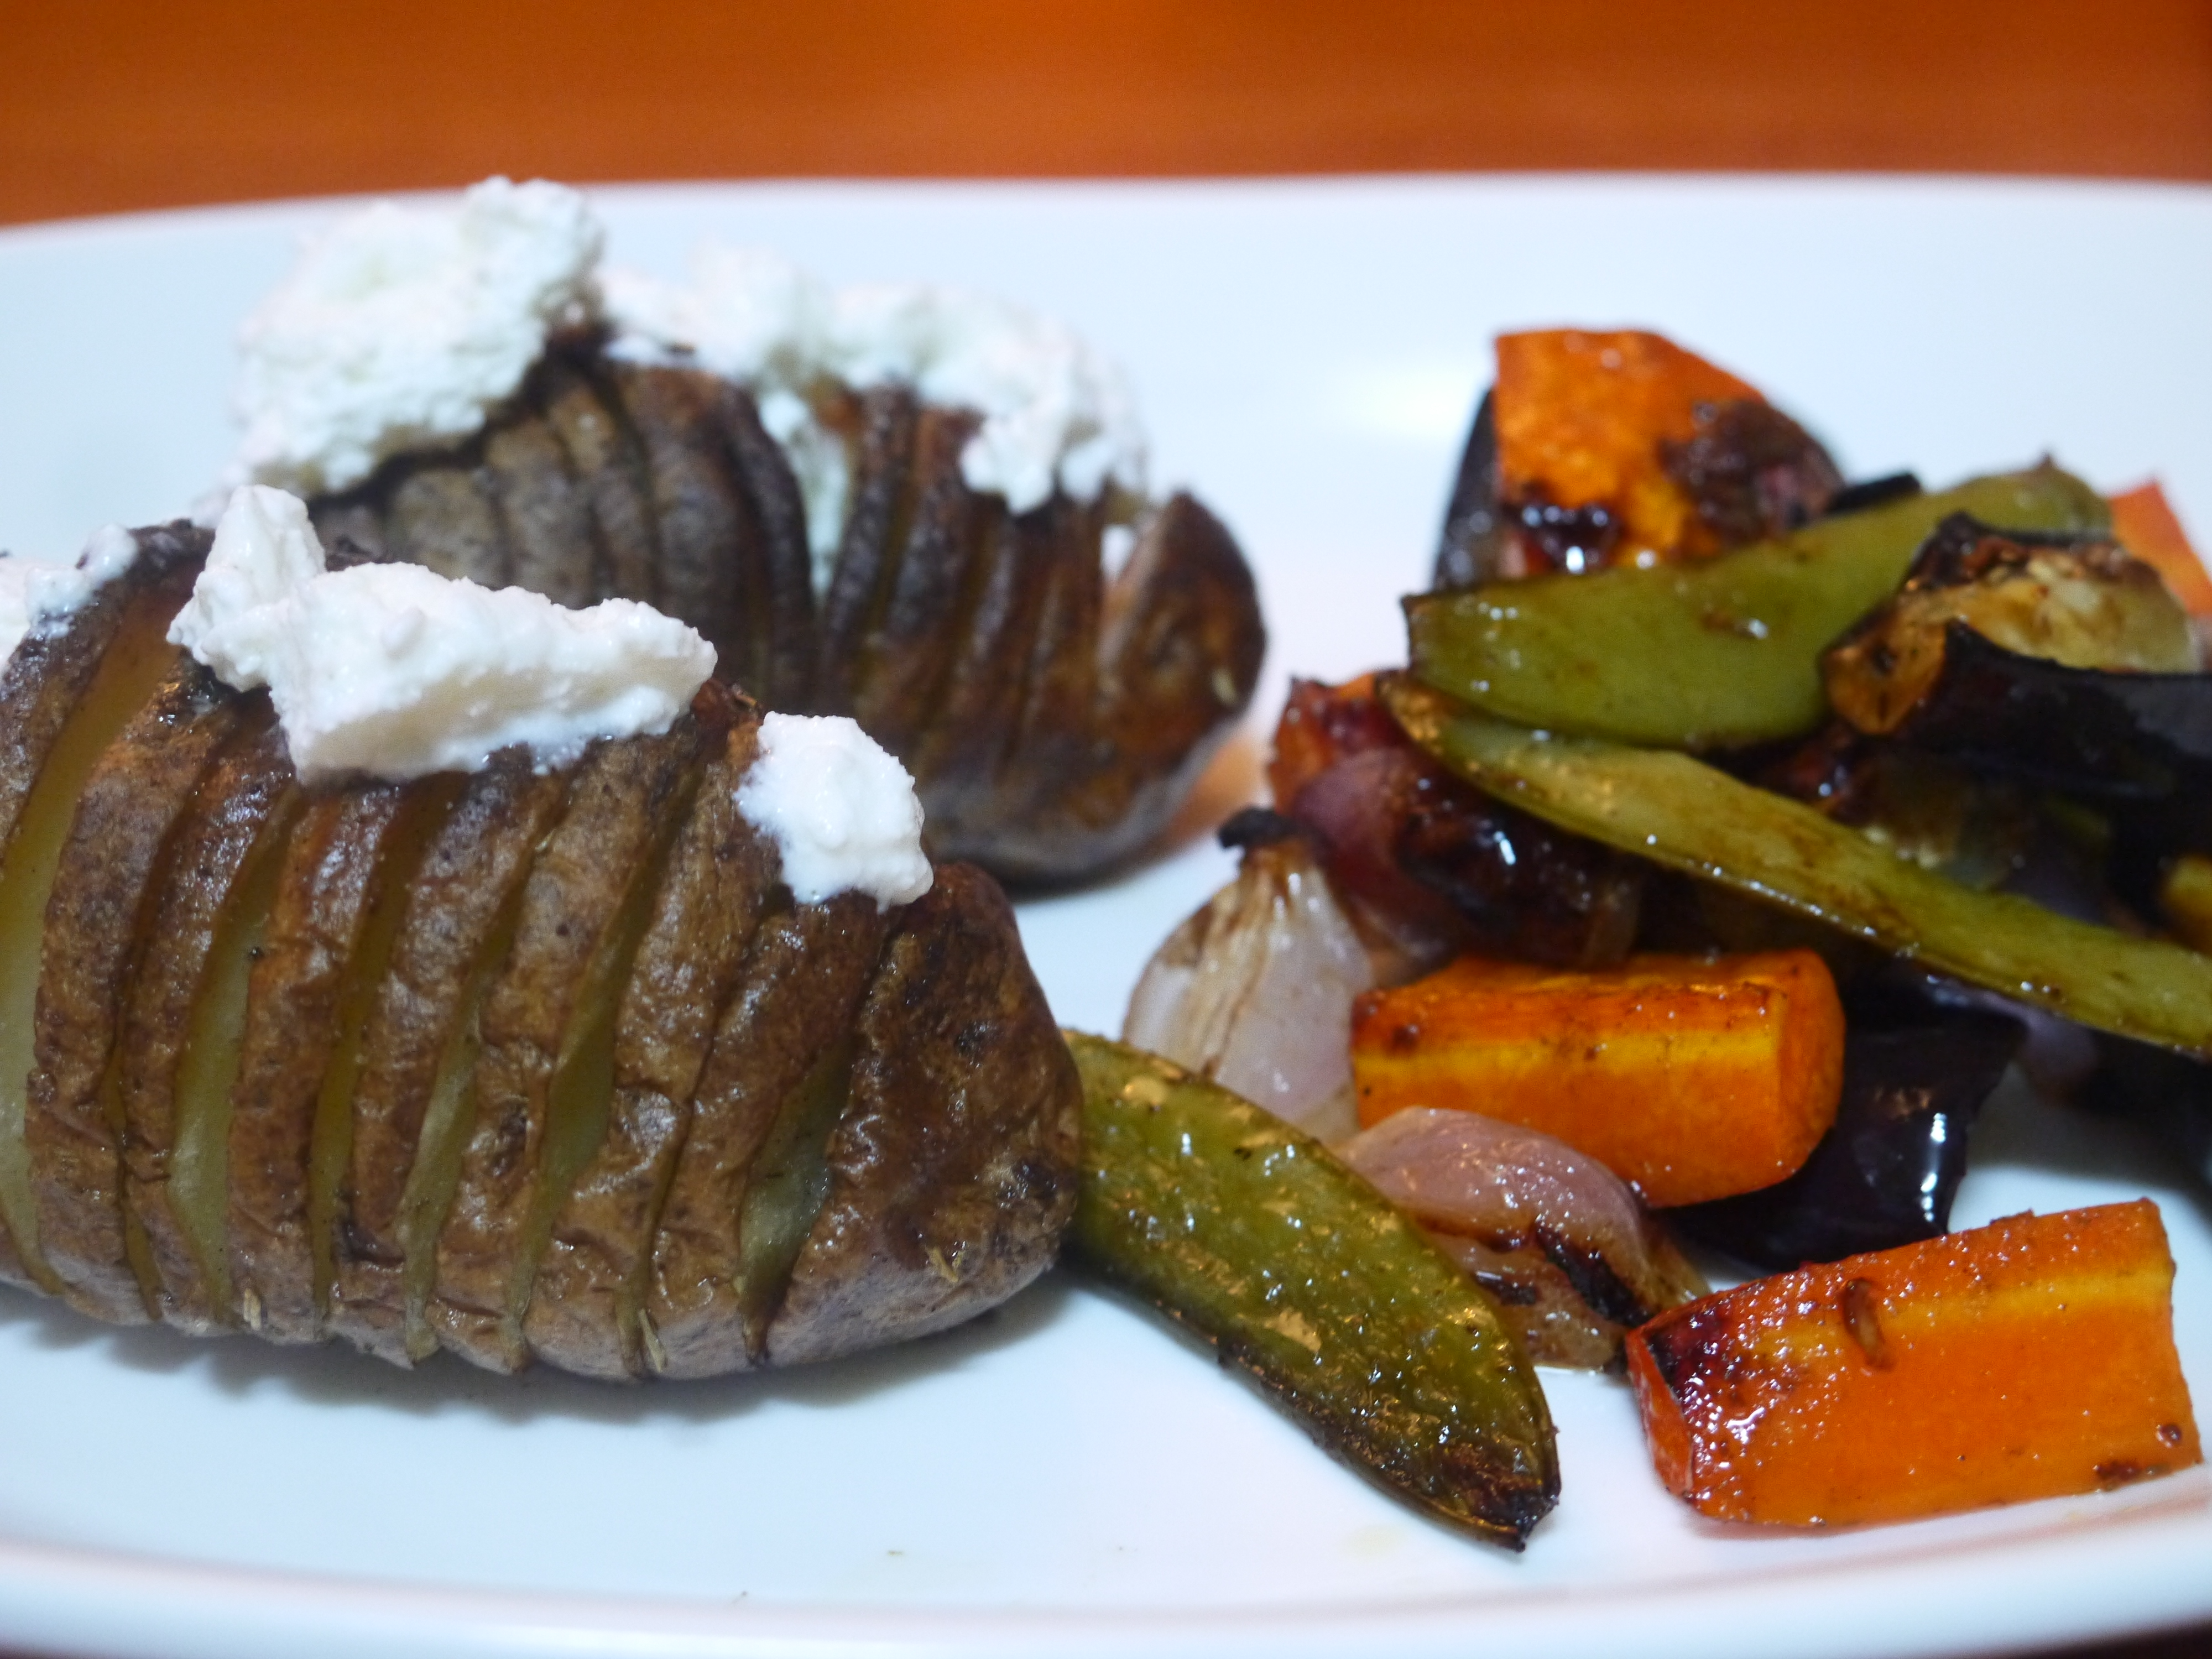
The second memory is in Jordan, a small falafel shop in Wadi Musa near Petra, and they sold hot, fresh-from-the-fryer falafels in brown paper bags, to be eaten as a snack as you walk around. They were extremely addictive, and I went to that shop twice under 12 hours. I've tried making falafels a few times, but to no avail. But hey, 16th time is the charm, they say! This recipe will get you a for-sure crispy falafel that is soft on the inside, and wouldn't break into a zillion pieces when you fry/air-fry them, like you heart can sometimes be. What You Need: Dried chickpeas (not canned, not cooked, DRIED) 1 handful parsley 1 handful coriander 1 red onion, peeled 4 cloves garlic, peeled 1 tsp ground cumin 1 tsp cayenne pepper 1/2 tsp black pepper powder 2 tbsp flour 1/4 tsp bicarb soda 1/4 baking powder What You Do: 1. First of all, let's talk about the chickpeas. The main cause of failure in my past falafel-making endeavors was due to getting the chickpeas wrong. You can't use cooked or can chickpeas because they have too much water, and will therefore cause your falafels to be soggy, and they will never have the crispy gritty exterior you're looking for when you cook them. So what you need are dried chickpeas and you soak them in cold water for about 6 hours, until they double up in size. This is the correct base for falafels. 2. Drain the chickpeas, and put them in you food processor. Put all the other ingredients into the processor, season with salt (if your machine is small, you can always do this in batches and mix them all together in a large bowl), and blitz. What you're looking for is for the chickpeas to get the texture the size of cooked cous cous (kinda grainy, and not very fine). 3. From this mix, form balls slightly smaller than golf balls. If the mix doesn't seem to stick together, blitz for a few more seconds. 4. For storage, you can keep these falafels in a single layer in your Tupperware, and they will keep in your freezer for months. 5. To cook, you can either shallow fry them in a flat, non-stick pan with a little oil, or air-fry them, 180 degrees for around 20 minutes, or until golden and crispy. 6. Eat them hot! Best as just a snack with your favorite condiment, or stuff into some pita bread with some coleslaw. What’s the big deal about hasselback potatoes? Originating from a Swedish restaurant of the same name in the 1700s (and now this Bugis girl is making them), here are reasons why you should be roasting them.
This recipe serves 2. What You Need: 4 medium sized russet potatoes OR 2 large sized russet potatoes 3 tbsp. Butter (NOT margarine!) 1 tbsp. olive oil Dried or fresh rosemary What You Do:
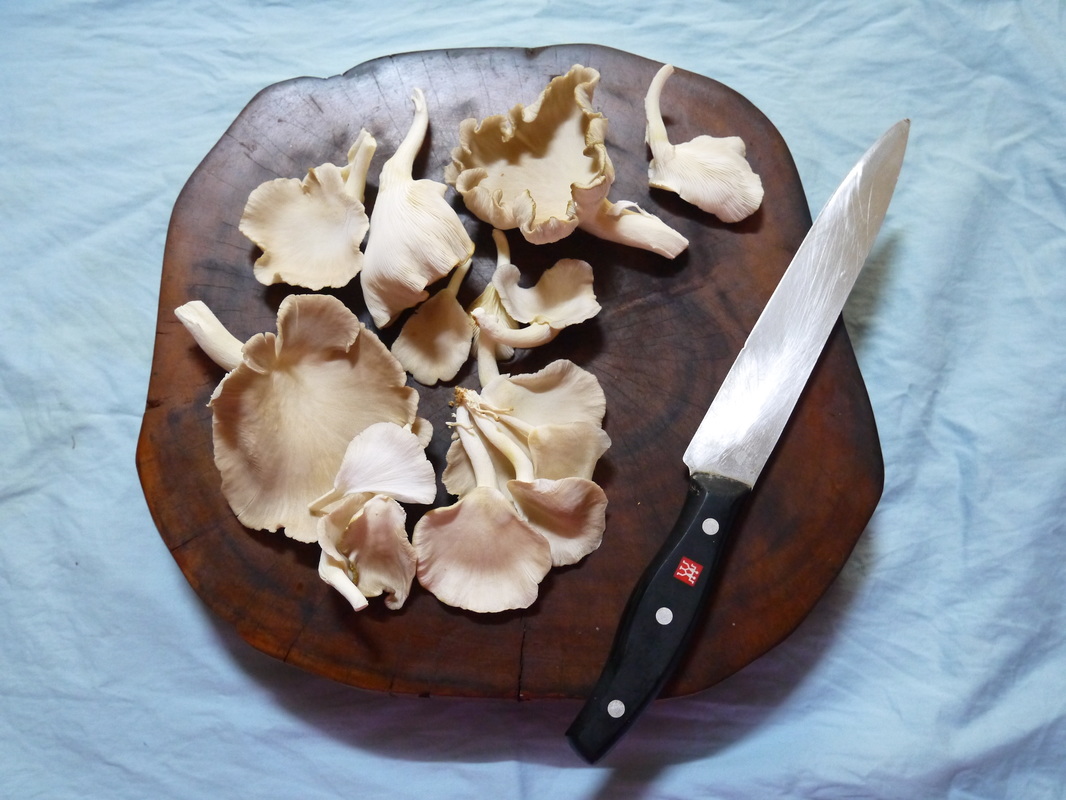
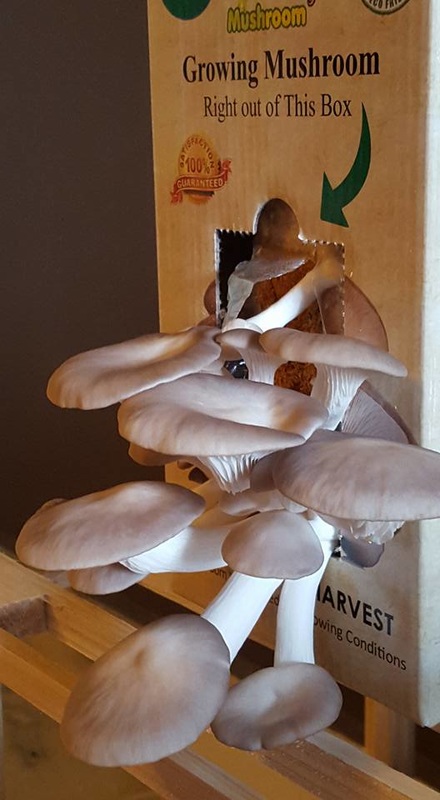
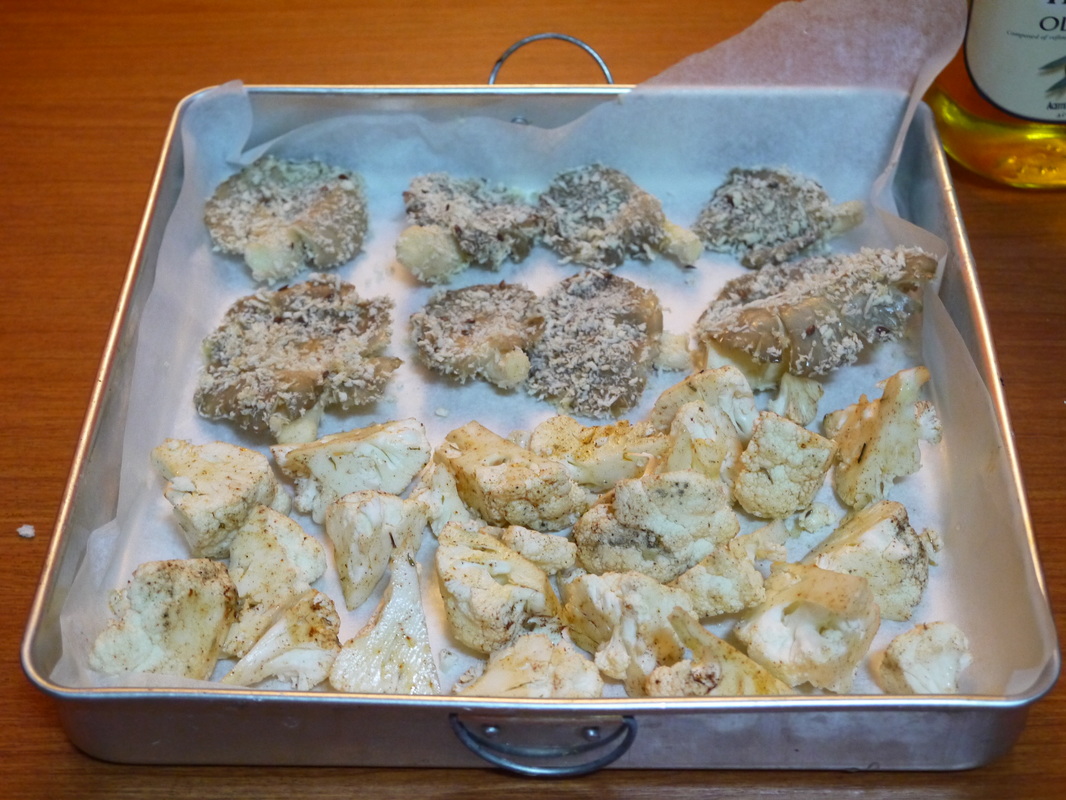
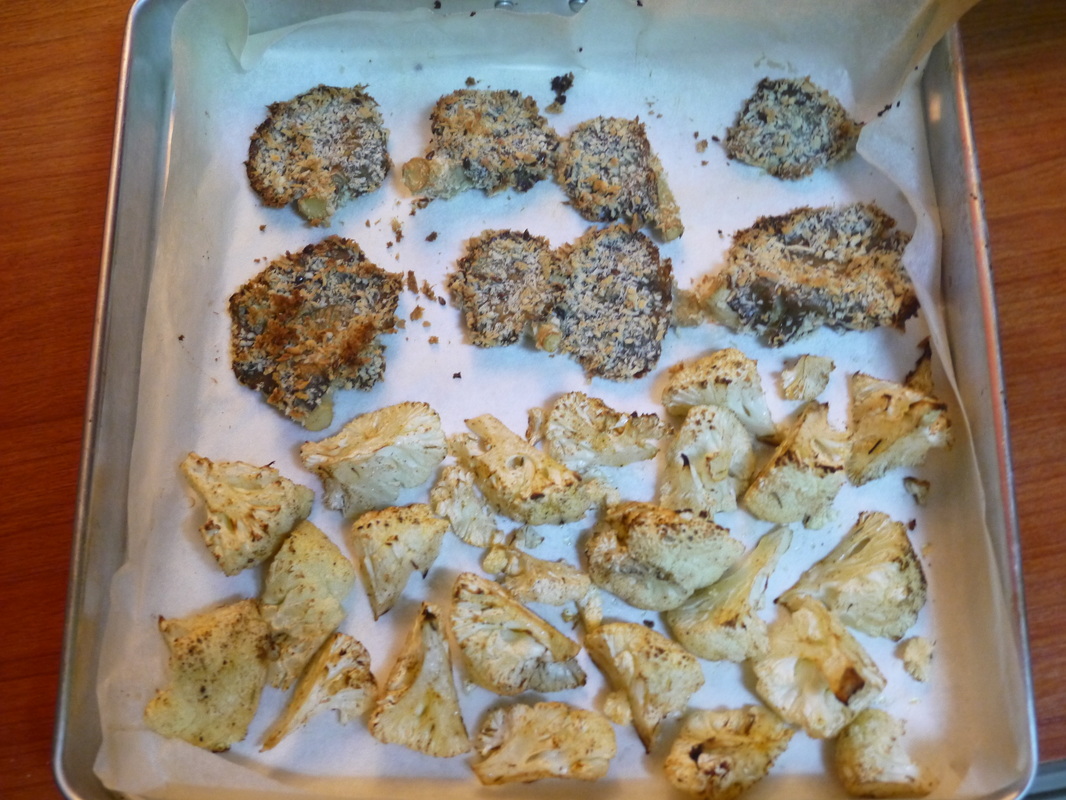
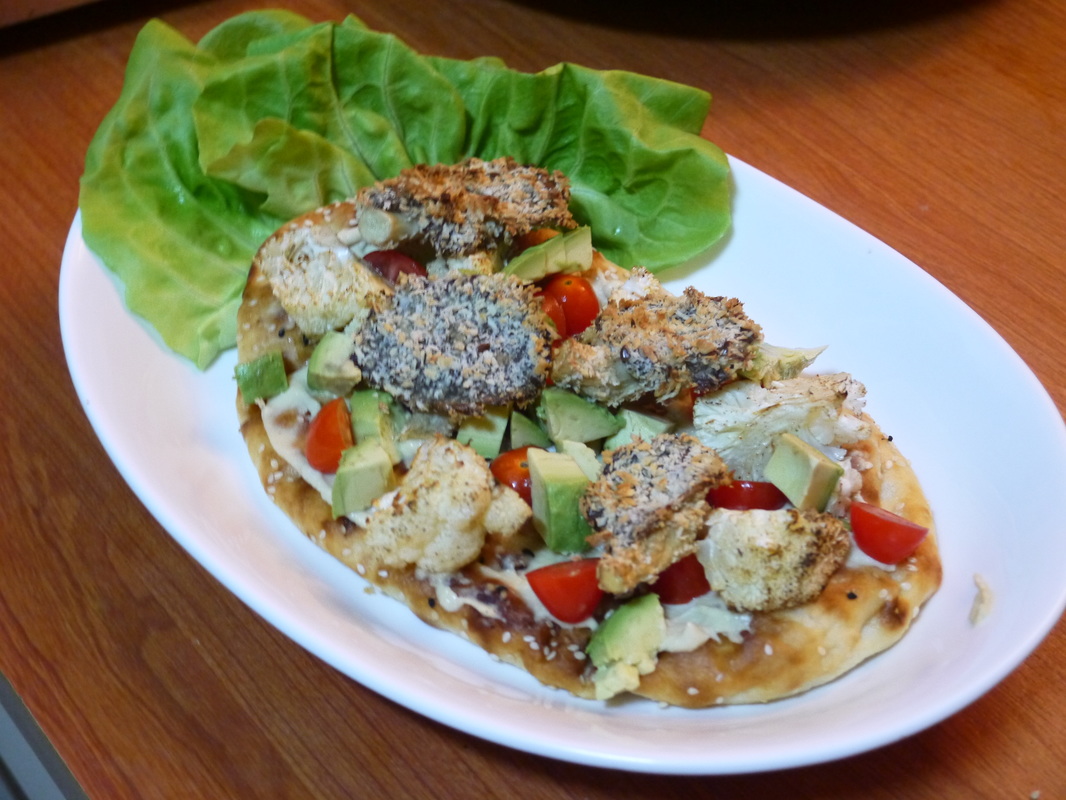
In an effort to try and eat more organic food in 2016, I recently bought myself a mushroom-growing kit, out of curiosity as I saw a friend having it in her kitchen (my lettuce died, so I'm starting over with something more achievable). The instructions were simple enough, and within a week of spraying the provided wood dust with water I got myself enough oyster mushrooms to harvest! They were clean white and plump and smelled deliciously musty, begging to be eaten. It almost made me forget my sad attempt to grow my own salad leaves. Cleaning them up was no fuss, and I had them in omelettes, soupy noodles and my personal favourite, as a crunchy topping for an almost-vegan pizza. This ‘pizza’ recipe isn’t exactly recipe but more of an assembly job, since all the veg are roasted in the oven and everything else is pretty basic. I’ve tried a few different combos, but this one is my favourite as the oyster mushrooms are crunchy and not overcooked so you get to enjoy their freshness, and the roasted cauliflower is a nice texture, with creamy avocado and nutty hummus to compliment. Not to mention it takes literally 10 mins to prep (the rest is oven time), so it’s officially my new favourite Meat Free Monday dinner menu. This recipe makes 2 mini ‘pizzas’.
Here’s what you need: Flatbread (available at most grocery stores) Oyster mushrooms Breadcrumbs 1 egg 1 floret of cauliflower, stemmed 1 tsp cayenne pepper 1 avocado Hummus Cherry tomatoes (optional) Here’s what you do:
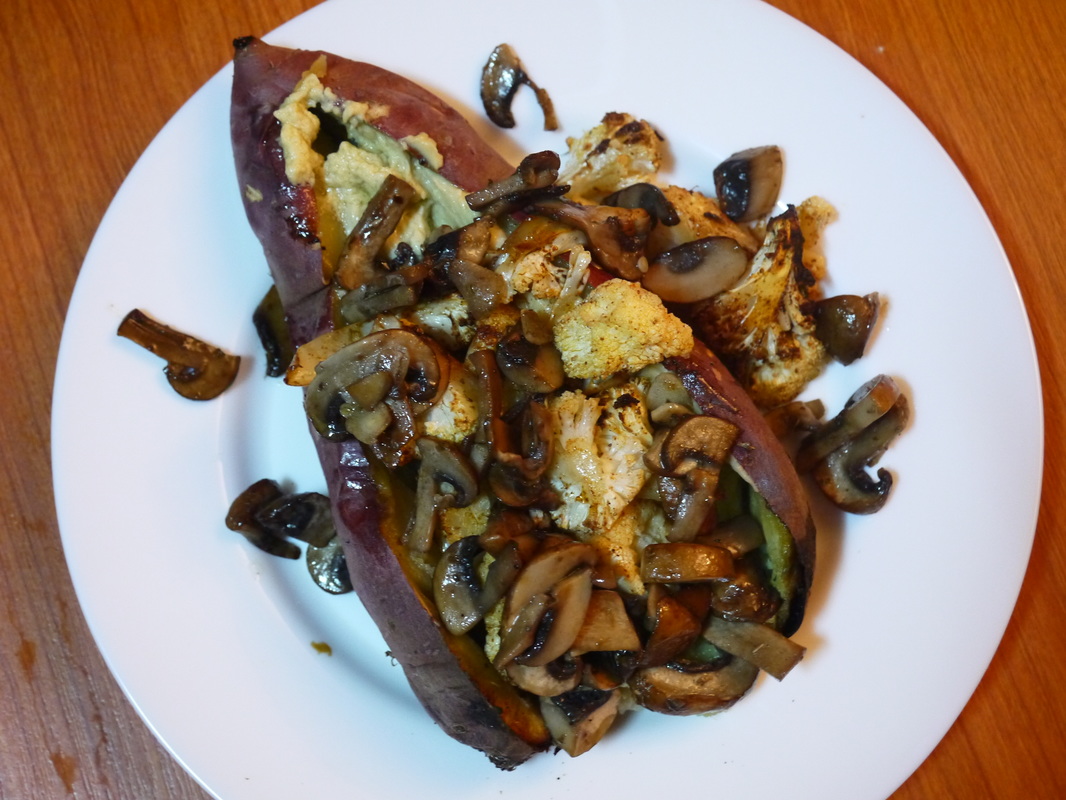
Note: a.) The best bits of the roasted cauliflower are the disintegrated, slightly burned ones. b.) Don’t buy hummus at the conventional grocery store because they are always so expensive. Try the ones in middle-eastern grocers. They’re cheaper and tastes much better. One day I decided to try a recipe from Deliciously Ella (www.deliciouslyella.com) for a sweet potato bake. I like trying new things especially for Meat Free Mondays, as vegetarian meals can get pretty repetitive sometimes. What resulted was an immediate addiction to baked sweet potatoes, and I ended up having this meal four times that week, meat free day or no meat free day.
What’s great about this is that, a) it takes minimal effort, which makes it great for weekday dinners b) you can stuff the baked sweet potato any way you want. But this recipe is pretty much my preference when it comes to combo – creamy hummus, crunchy roasted cauliflower and delicious sautéed mushrooms. What a plate of goodness. This serves 2. Here’s what you need: 2 medium/large sweet potatoes Hummus (at grocery stores in the ‘spreads’ section, or any nearby Middle Eastern restaurants) ½ floret of cauliflower 100 gm field mushrooms, or any mushrooms you fancy 1 clove garlic Chili flakes ¼ lemon Here’s what you do:
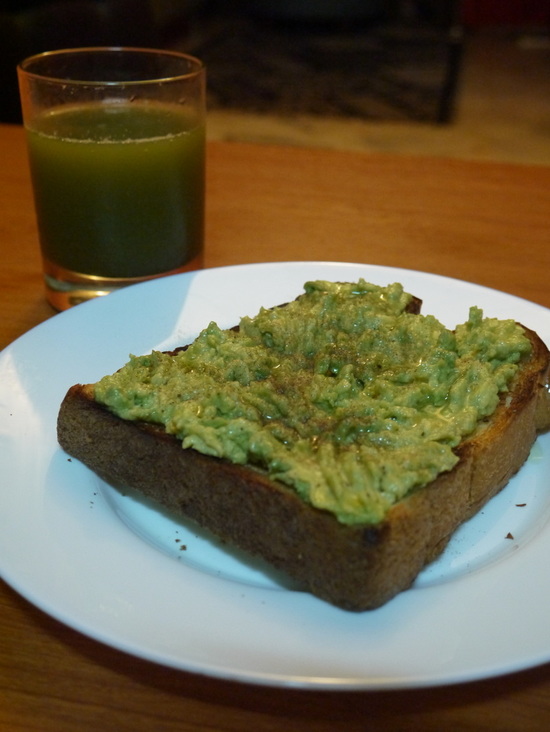
This one isn’t really a recipe because it’s too easy. But it’s one of those fail proof breakfast ideas if you’re in a hurry but looking for a super healthy and filling breakfast. Not to mention it’s really, really good.
Side note: Did you know that dogs who live in avocado farms have gorgeous shiny coats because of the avocados they gobble up? That’s a nice motivation, right? ;) Here’s what you need: Bread, preferably thick, dense ones. But any bread will do. 1 ripe avocado (blackened skin says it’s ripe) ¼ a lemon Olive oil Optional: Chopped chili if you’re feeling feisty Here’s what you do: 1. Make some toast. 2. Cut the avocado in half, and scoop the flesh out with a spoon. 3. Squeeze in the lemon juice, salt and pepper (and chili if you like). Mash them up. 4. Spread on toast. 5. Drizzle over some olive oil. 6. Goes really great with a chilled glass of juice. I don’t eat meat on Mondays. Mostly because I think I consume too much meat than I actually need, so it’s good to give it a break sometimes. ‘Meat Free Mondays’ is also a great opportunity to dedicate one day a week of eating just clean, healthy meals that are plant-based or recipes that are low-cal and low-fat.
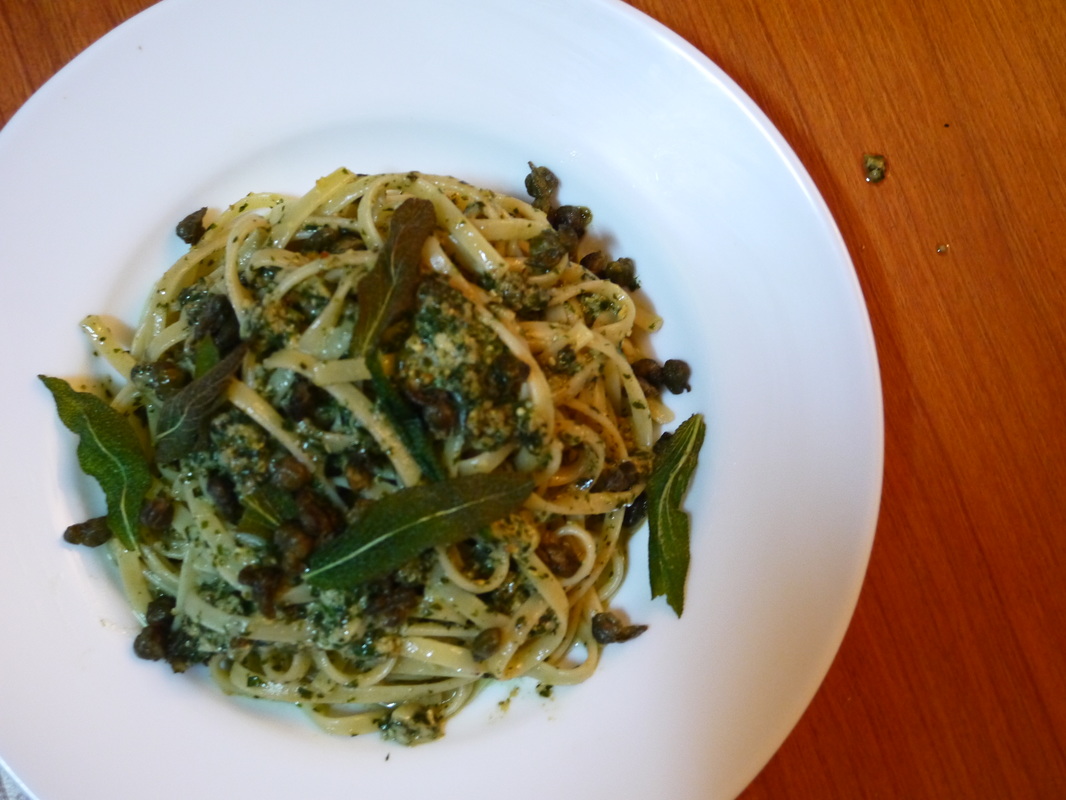
Admittedly, going meat free can sometimes be a challenge if you love the rich taste of meat. So to avoid the craving I experimented with a lot of recipes to make sure I don’t miss flesh at all. Here is a recipe of a super easy basil pesto. I made it for my parents last week and they loved it! It may require you to hit Cold Storage, but it’s worth it. Here’s what you need: A good bunch of fresh basil 1 clove of garlic A handful of pine nuts (slightly pricey, but lasts long on the shelf!) Olive oil Parmesan cheese, grated Pasta 1 large tablespoon Capers Sage leaves (optional) Here’s what you do: 1. Boil pasta according to packet instructions. Save some of the pasta boiling water. 2. In a small food processor/blender/pestleandmortar, place the basil, garlic, pine nuts (you can toast them if you like), salt, pepper, and a good glug of olive oil. Blend/pound these into a pulp. 3. Place the pesto in a large mixing bowl. 4. Add drained pasta into the mixing bowl. 5. Mix pasta, the basil pesto, cheese and pasta cooking water until you get a nice sauce consistency and the pasta is all nicely coated. 6. Taste and adjust with salt if needed. 7. In a small pan, heat some olive oil and fry the capers until they look crispy (you can fry the sage leaves as well if you have them). Remove capers from oil. 8. Put the pasta on a plate in the fanciest way you can possibly manage and top with the capers, sage and a drizzle of the olive oil from the pan. 9. Eat to your heart’s content. |
Archives
August 2023
Categories
All
https:/
/www.bootsoverbooks.com/
|
